
My 9-Step Makeup Routine for a Perfect Driver’s License Picture
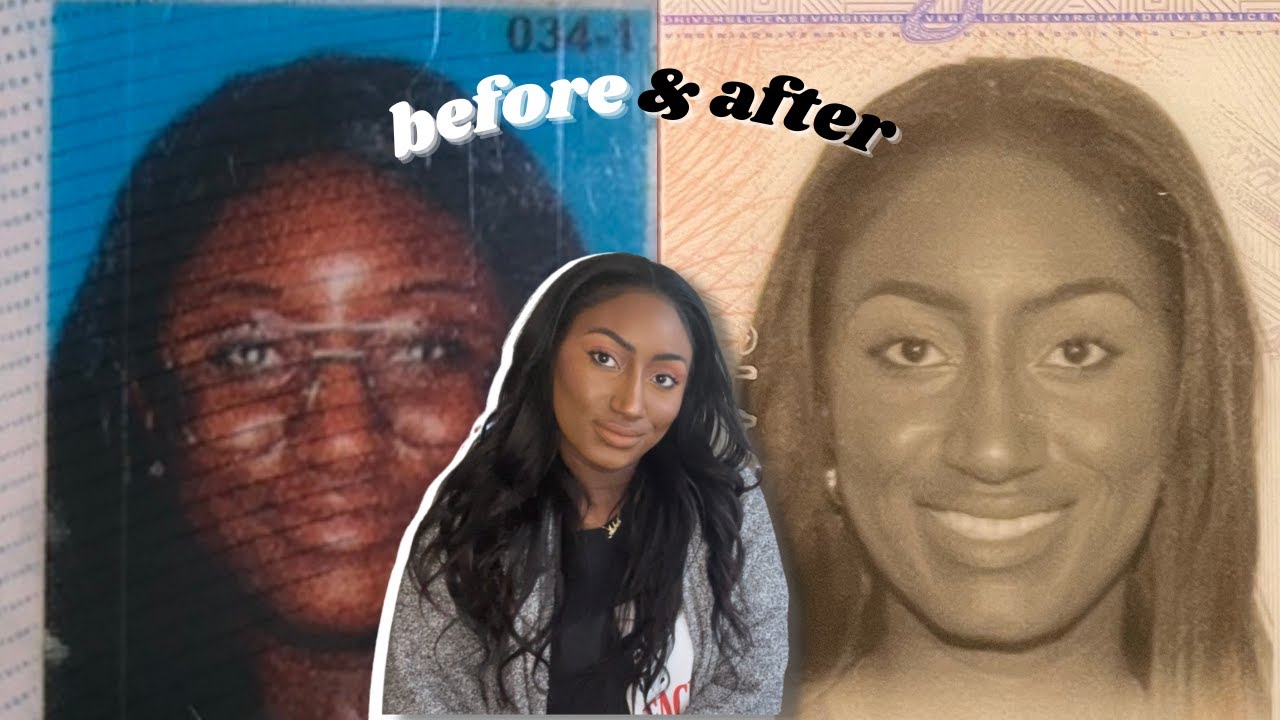
So I had a DMV appointment this morning, but I forgot something and they asked me to come back this afternoon. I mean, it worked out perfectly because this morning, I was looking crusty AF. It wasn’t cute, y’all. So, I thought, why not do a quick tutorial on how I’m going to get ready for my driver’s license picture? My last one wasn’t the best and I don’t want a repeat of that disaster. So, let’s get this mug together and make sure we look fantastic in our next license photo. I hope you guys are as excited as I am!
Step 1: Preparing Your Skin
Cleanse Your Face
Before starting your makeup routine, it’s important to cleanse your face to remove any dirt, oil, or makeup residue. Use a gentle facial cleanser that suits your skin type and massage it onto your damp skin in circular motions. Rinse thoroughly with lukewarm water and pat your face dry with a clean towel.
Apply Moisturizer
After cleansing, it’s time to hydrate your skin with a moisturizer. Choose a moisturizer that is suitable for your skin type, whether it’s dry, oily, or sensitive. Apply a small amount of moisturizer onto your fingertips and gently massage it onto your face and neck in upward motions. Allow the moisturizer to absorb into your skin before moving on to the next step.
Use Primer
Priming your skin before applying makeup helps to create a smooth and even base. Choose a primer that suits your skin type and concerns, whether it’s pore-minimizing, hydrating, or color-correcting. Take a small amount of primer and blend it onto your face, focusing on areas where you want your makeup to last longer, such as the T-zone or around the nose. Allow the primer to set for a few minutes before applying the foundation.
Step 2: Creating a Flawless Base
Choose the Right Foundation
Finding the perfect foundation is crucial for achieving a flawless base. Consider your skin type and concerns when selecting a foundation formula, whether it’s liquid, powder, or cream. Also, consider the coverage you desire, whether it’s light, medium, or full. Test different shades on your jawline to find the one that matches your skin tone and undertone.

Apply Foundation
To apply foundation, start by dotting small amounts of foundation onto your forehead, cheeks, nose, and chin. Use a foundation brush, sponge, or your fingertips to blend the foundation outward, ensuring even coverage. Blend well into the hairline, jawline, and neck to avoid any harsh lines or color mismatches.
Blend with a Beauty Sponge
To achieve a seamless and airbrushed finish, use a damp beauty sponge to blend and diffuse the foundation. Start by gently pressing the sponge onto your skin, using a bouncing motion. This helps to blend the foundation evenly and eliminate any streaks or patches. Pay extra attention to problem areas, such as around the nose or under the eyes, to ensure a smooth finish.
Conceal Any Blemishes
To hide any blemishes, dark spots, or under-eye circles, use a concealer that matches your skin tone or is slightly lighter. Apply a small amount of concealer directly onto the blemish or under-eye area and gently blend it using your fingertips or a small brush. Make sure to blend the edges of the concealer seamlessly with the foundation for a natural look.
Step 3: Perfecting Your Brows
Brush Your Eyebrows
Start by brushing your eyebrows in the direction of hair growth using a spoolie brush. This helps to shape the brows and remove any excess product or build-up. Brushing your brows also helps to create a neat and polished look before filling them in.
Fill in Sparse Areas
Using an eyebrow pencil or powder that matches your hair color, fill in any sparse areas or gaps in your eyebrows. Start at the inner corner and use light, feathery strokes to mimic the appearance of hair. Gradually build up the color until you achieve your desired fullness and shape.
Define the Shape with Brow Pomade
For more defined and sculpted eyebrows, use a brow pomade or cream. With an angled brush, lightly dip into the pomade and outline the shape of your brows. Then, fill in the rest of your brows, following the direction of hair growth. Use short, light strokes to create a natural look and blend the product throughout the brows.
Set with Brow Gel
To set your eyebrows in place and add extra hold, use a clear or tinted brow gel. Brush the gel through your brows in an upward motion, starting from the inner corner to the outer corner. This helps to keep your brows in shape throughout the day and adds a polished finish to your overall look.
Step 4: Contouring and Highlighting
Map Out the Contour
Contouring helps to define and add dimension to your face. Start by mapping out the areas you want to contour using a contour stick, powder, or cream. These areas typically include the hollows of your cheeks, temples, jawline, and sides of your nose. Follow the natural shadows of your face to determine where to apply the contour product.
Apply Contour
Using a contour brush or sponge, apply the contour product to the areas you mapped out. Blend the product using back-and-forth or circular motions, ensuring that there are no harsh lines or uneven patches. Gradually build up the contour until you achieve the desired level of definition.
Blend for a Natural Look
To avoid any harsh lines or obvious contours, blend the product thoroughly using a clean brush or sponge. This helps to create a seamless and natural-looking contour that enhances your facial features. Use light, sweeping motions to ensure that the contour is well-blended and seamlessly transitions into your foundation.
Apply Highlighter to Key Areas
Highlighting helps to bring light to the high points of your face, creating a radiant and glowy look. Apply a highlighting powder, cream, or liquid to the areas you want to accentuate, such as the tops of your cheekbones, brow bone, bridge of the nose, and cupid’s bow. Use a small brush or your fingertips to blend the highlighter for a luminous finish.
Step 5: Set Your Makeup
Apply Translucent Setting Powder
After completing your foundation, concealer, contour, and highlight, it’s time to set your makeup. Use a translucent setting powder to lock everything in place and reduce any shine or oiliness. Lightly dust the powder onto your face using a fluffy brush, focusing on areas that tend to get oily, such as the T-zone.
Dust Off Excess Powder
To avoid a cakey or powdery finish, gently dust off any excess setting powder using a clean brush or a powder puff. This helps to ensure that your makeup looks natural and prevents any buildup or creasing throughout the day. Be careful not to disturb or smudge the rest of your makeup while removing the excess powder.
Step 6: Add a Pop of Color
Apply Blush to the Apples of Your Cheeks
Blush adds a healthy flush of color to your complexion and helps to bring life to your face. Choose a blush shade that complements your skin tone, whether it’s a rosy pink, peachy coral, or deep berry. Smile to find the apples of your cheeks and lightly apply the blush using a blush brush. Blend the blush upward towards your temples for a soft and natural look.
Blend for a Natural Flush
To create a seamless and natural-looking blush, blend the color using circular motions or upward strokes. This helps to ensure that the blush is evenly distributed and gives a subtle flush to your cheeks. If you apply too much blush, use a clean brush or a damp sponge to blend and diffuse the color for a more subtle effect.
Step 7: Enhance Your Eyes
Apply Eyeshadow Primer
Eyeshadow primer helps to prevent creasing, improve color payoff, and prolong the wear of your eyeshadow. Apply a small amount of eyeshadow primer onto your eyelids and blend it using your fingertips or a flat brush. Make sure to cover the entire lid, from the lash line to the brow bone, to create a smooth and even canvas for your eyeshadow.
Choose an Eyeshadow Palette
Select an eyeshadow palette that suits your desired look, whether it’s natural, smoky, or colorful. Consider the different finishes, such as matte, shimmer, or metallic, to create depth and dimension on your eyelids. Choose shades that complement your eye color and blend well together to create a cohesive and harmonious eye look.
Apply Eyeshadow
Start by applying a transition shade to your crease using a fluffy blending brush. This shade helps to create a smooth transition between your eyeshadow colors. Next, apply your chosen lid shade using a flat brush or your fingertips, concentrating the color on the center of your eyelids. Finally, use a smaller brush to add depth and definition to the outer corner of your eyes with a deeper shade.
Define Your Lashes with Mascara
For long, voluminous lashes, apply mascara to your upper and lower lashes. Start at the base of your lashes and wiggle the mascara wand back and forth as you move it towards the tips. This helps to separate the lashes and coat them evenly with mascara. Apply multiple coats if desired, allowing each coat to dry before applying the next.
Step 8: Define Your Lips
Outline Your Lips with Lip Liner
To define and shape your lips, use a lip liner that matches your natural lip color or the shade of your lipstick. Start by outlining the natural shape of your lips, then fill in the entire lip area to create a base for your lipstick. This helps to prevent feathering and smudging and also prolongs the wear of your lipstick.
Apply Lipstick or Lip Gloss
Choose a lipstick or lip gloss in a shade that complements your makeup look or personal preference. Apply the lipstick directly from the bullet or use a lip brush for more precision. Start from the center of your lips and work your way towards the corners, making sure to cover the entire lip evenly. Blot your lips with a tissue and reapply another layer if desired.
Step 9: Finishing Touches
Set Your Makeup with Setting Spray
To ensure that your makeup lasts all day and stays in place, use a setting spray. Hold the spray about an arm’s length away from your face and mist it evenly all over. This helps to lock in your makeup and adds a natural, dewy finish to your skin. Allow the setting spray to dry before touching or rubbing your face.
Check for Any Smudges or Errors
Before heading out, take a close look at your makeup in natural lighting to check for any smudges, unevenness, or mistakes. Use a clean brush or sponge to blend or correct any areas that need adjustment. Double-check your eyebrows, mascara, lipstick, and any other crucial parts of your makeup to ensure that everything looks perfect.